
3D Shed Designer Guide
- This is the 3D design environment.
- There is a large main menu for designing your shed.
- And smaller floating menus for different tasks.

My projects
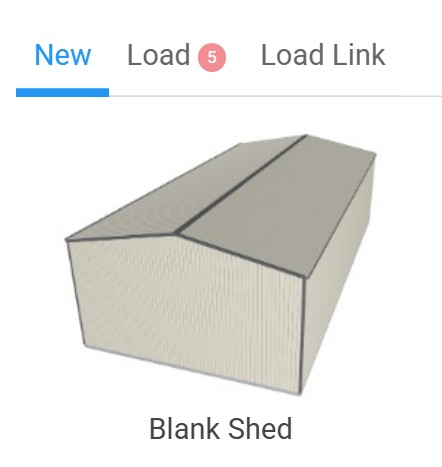
- To the left of screen, you see a small menu New – Load – Save – Share
- The New button is how you start a new project, Use a blank shed or a template.
- The Load button is how you access your saved projects.
- Toggle them both to see how they work.
- Save allows you to save your project.
- Share is how you send a project to others.

Moving the 3D model
- Let’s get started
- Click New and choose a Blank Shed
- Your 3 D model appears on screen.
- Zoom, in and out with the scroll wheel on your mouse.
- Rotate the model, left click and hold, now move the mouse.
- Pan the model sideways, right click and hold, now move the mouse.
Size Button
- On the left side of the screen you will see the main tool bar.
- Select the Size button it looks like this.
- A pop out menu appears on the right you can click X to close the menu.
- Choose a roof type Gable roof, Mono pitch, or American Barn.
- Choose a roof pitch.
- Click the length measurement, then type in your required size.
- Set the width and height of your shed the same way.
- Choose how many bays you want.
- Bay count changes the size and quantity while keeping the shed size locked.
- + Bay will add a bay and also extend the length of your building.
- Remove bays or Garaports with the Red X buttons
- Once you are done go to the top of the pop out menu and click X to close.
Add doors and windows
- On the main menu Click Extras button.
- On the 3D model click on a wall where you want the extra item positioned.
- Now on the Extras pop out menu choose an item and adjust it accordingly.
- To add another item click on the 3D model and repeat
- Click X to close the menu
See your elevations and floorplan
- Next to the main menu you will see a small menu 3D Plan Floor.
- Toggle through them to see your shed elevations and floor plan
- Click X to close the menu
Add a Lean to
- On the main menu Click lean to button.
- On the 3D model 2 white boxes appear select one.
- Now on the 3D model blue tick boxes appear, select one to remove a bay.
- Reinstate the bay by clicking the white box that appears on the model.
- On the Lean to pop out menu change the roof pitch, length and height.
- Click X to close the menu
Sent us your design for a quote
- On the main menu click the Get a quote button at the bottom.
- Fill out your details
- Hit the submit button.
- Click X to close the menu
Save export or print
- Save the design to your project folder and reload it another day.
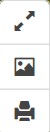
- Next to the main menu you will see another small floating menu.
- You can export or print in any view mode 3D, Plan, or Floor
Choose Your Next Step
Use our simple quote forms to get a fast ballpark estimate based on your shed design.
Or move straight to a firm quote if you’re ready to lock in your project.


